Whether you are a beginner or a long-time user of Fusion Mineral Paint, you MUST know that this paint lasts forever. With its exceptional coverage, you will get many more projects out of your pint of paint than with other furniture paints on the market and that is what makes buying Fusion quite the bargain! To see how our formula performs after a long period in storage, we put our formula to the ‘shelf life test’ using one of Fusion’s Original Paint colours Algonquin in a jar that was produced over 7 years ago.
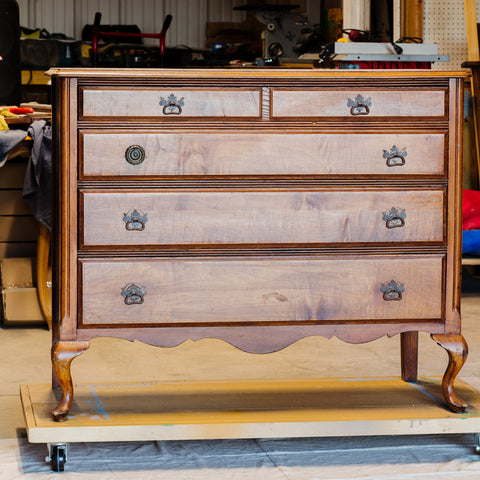
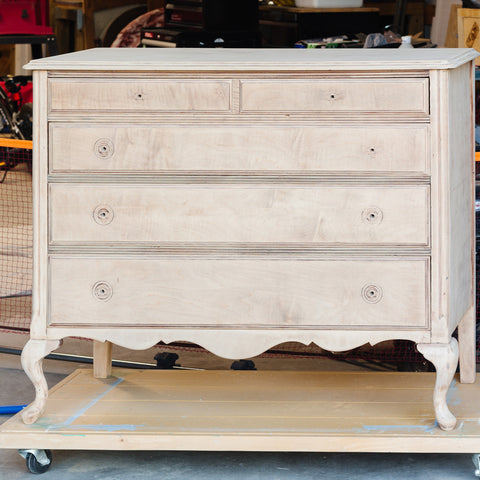
Here is a before look at the piece:
________________________________________________________________
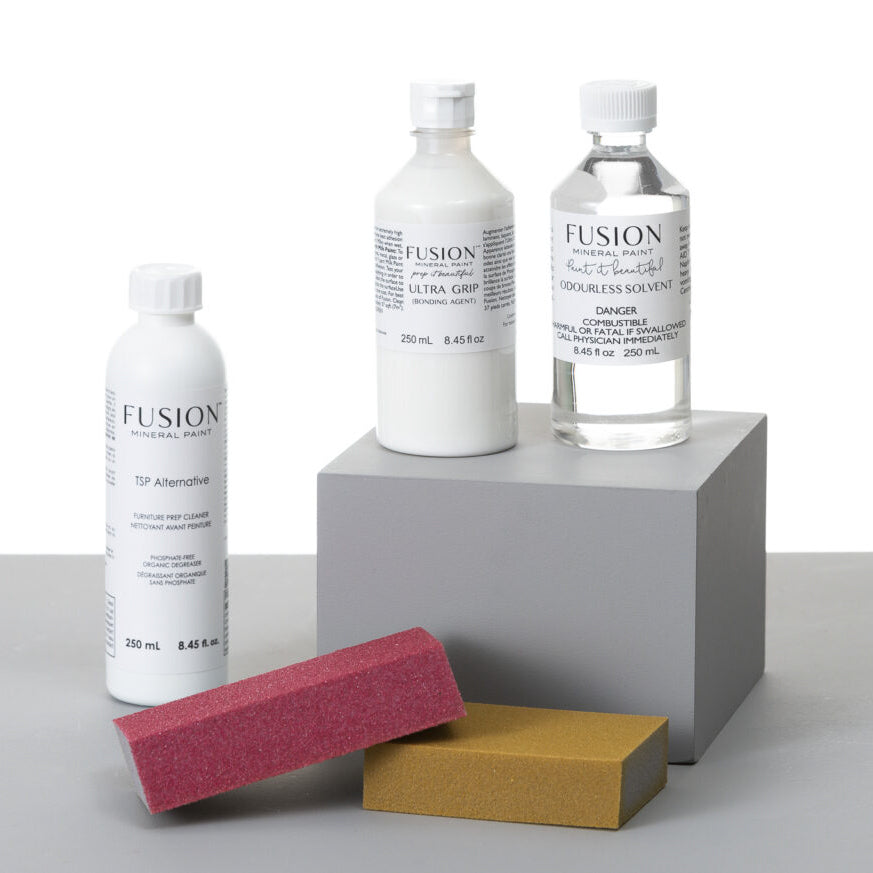
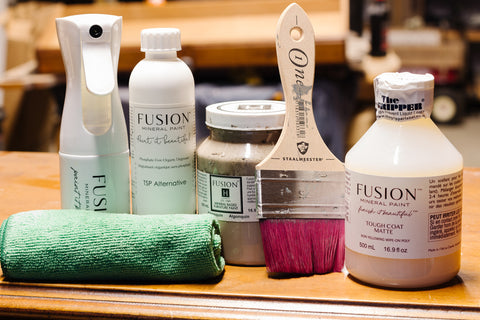
List of supplies you’ll need to complete a similar project.
- Fusion TSP Alternative
- Wiping Cloths
- Fusion Mineral Paint / Algonquin
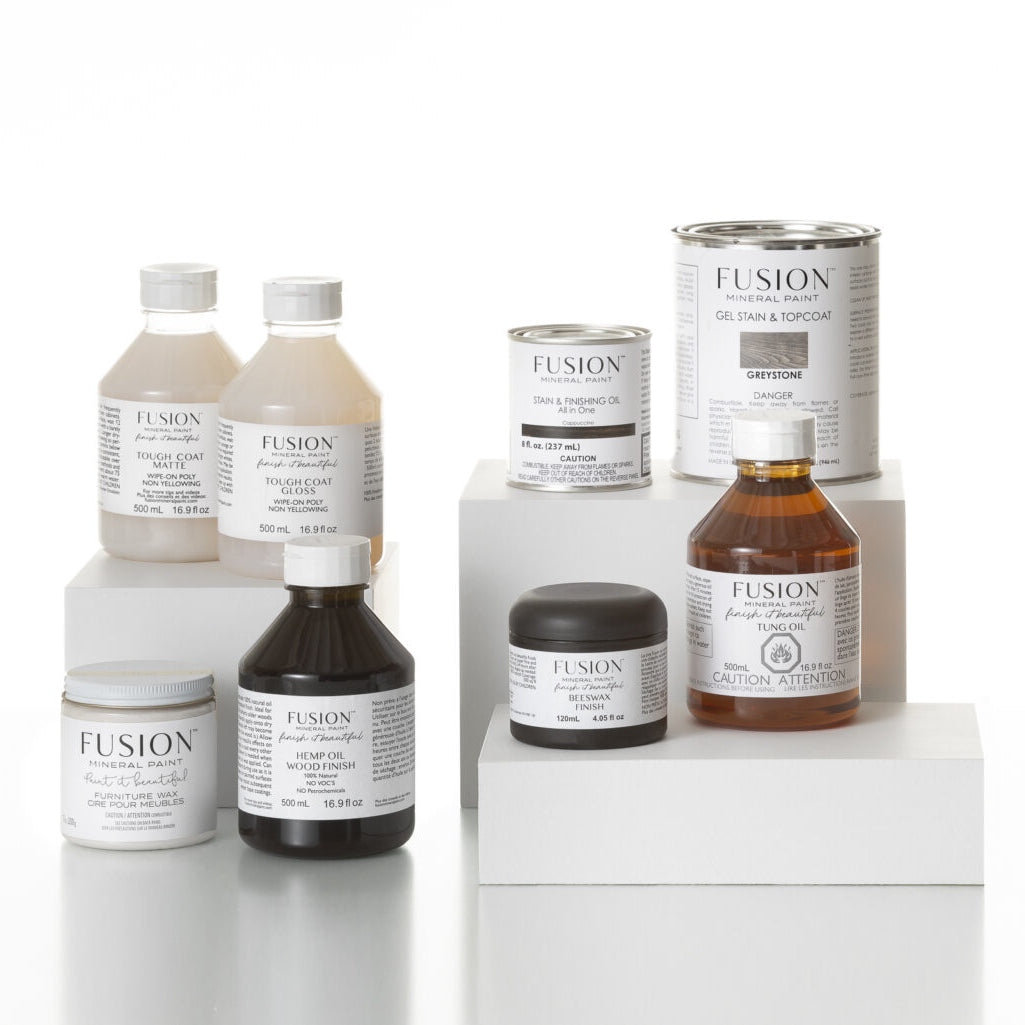
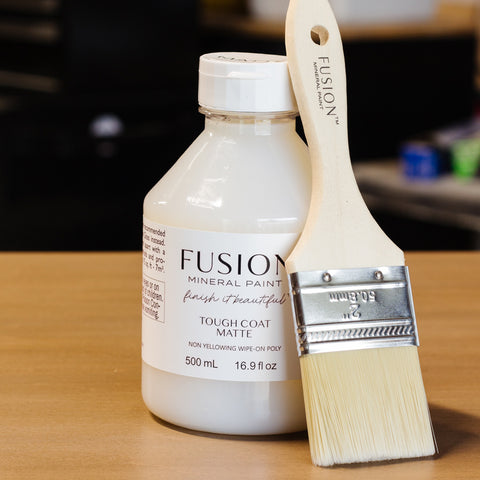
- Fusion Tough Coat / Matte
- Electric Sander and Sanding Pads
- Stirring Sticks & Containers
- Synthetic Bristle Brushes
________________________________________________________________
Prep for Success!
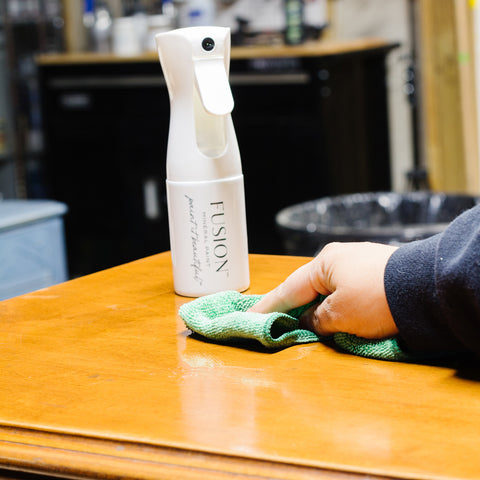
For this piece, we wanted to go for a paint-washed look. When it comes to a paint wash, your prep is absolutely what will make or break your finish. Always start with a good deep cleaning. We used Fusion TSP Alternative in a misting bottle to lightly coat the surface. Microfiber washcloths are perfect for gathering up all the dust and residue.
Even though you are washing with paint, the original substrate will come through. You will see every scratch, gouge or ding, so make sure to correct what you want prior to applying your wash. For this piece, we needed to make some repairs to the veneer, so we used a paintable wood filler to patch the veneer.
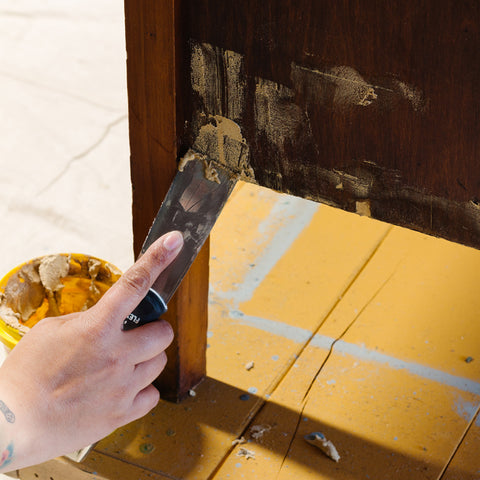
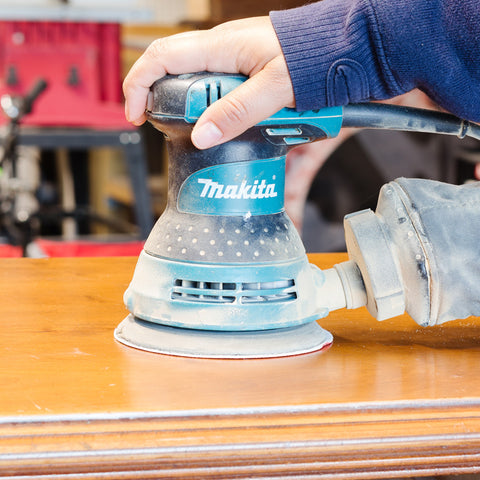
Once the filler is dry, you will want to take the extra time to sand smooth your piece. While it’s unnecessary to sand your piece to bare wood, we recommend it to get an even finish. Using an orbital sander with pads will help to take down the finish.
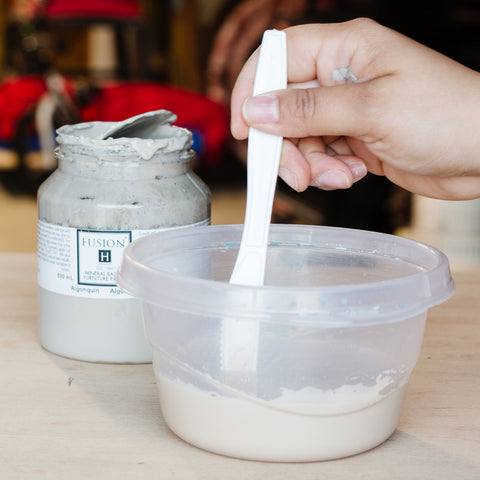
After you wipe away your sanding dust, it’s time to prepare your paint wash. For this piece, we did a 1:1 paint and water ratio. Mix it well and add more paint if you want a thicker, more opaque wash.
________________________________________________________________
Paint Washing with Fusion
You’ll notice that this piece had a lot of yellow and orange tones. We wanted to neutralize those warm colors which is why we picked Algonquin. It’s an earthy taupe that definitely has a lot of warmth, leaning towards brown and grey hues. We used a synthetic bristle flat brush to build up layers of paint wash, to make sure we get the tone and coverage we want. Simply brush on your wash and follow behind with a cloth to wipe up the excess.
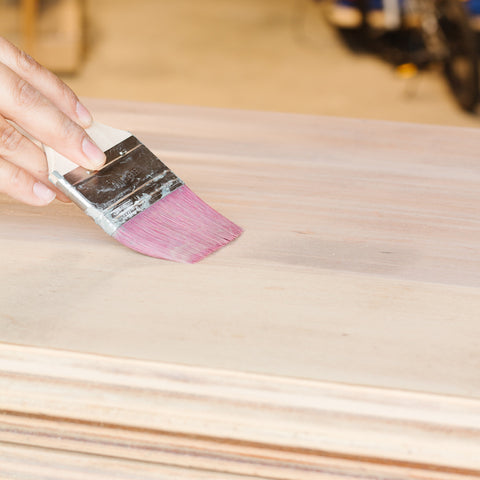
The colour may be slightly sheer, but our first coat sets the foundation for our paint. Once you build to the coverage you like, wait 24 hours before applying your top coat. We found the perfect choice for our paint wash was Fusion Tough Coat (Matte). It gives us a durable water-resistant finish while letting us keep some of that raw texture. Use a synthetic brush to lightly apply 3 coats.
Our third and final coat gave us the coverage we were looking for. We could see some chipping and grazing in some spots which was exactly what we were looking for. At this point, you'd want to smooth out the finish with a sanding pad and apply more pressure over the ornate details to bring them out with distressing.
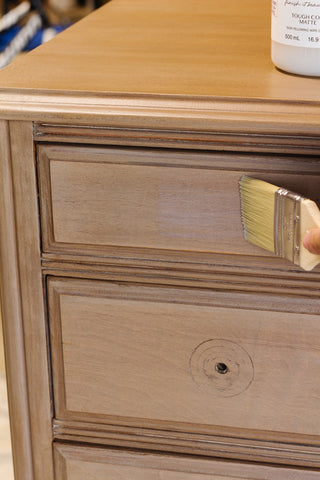
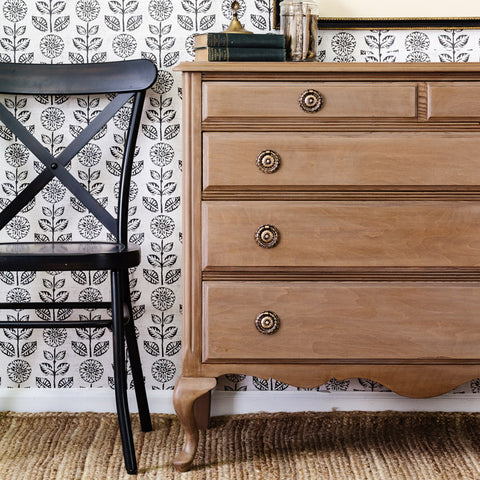
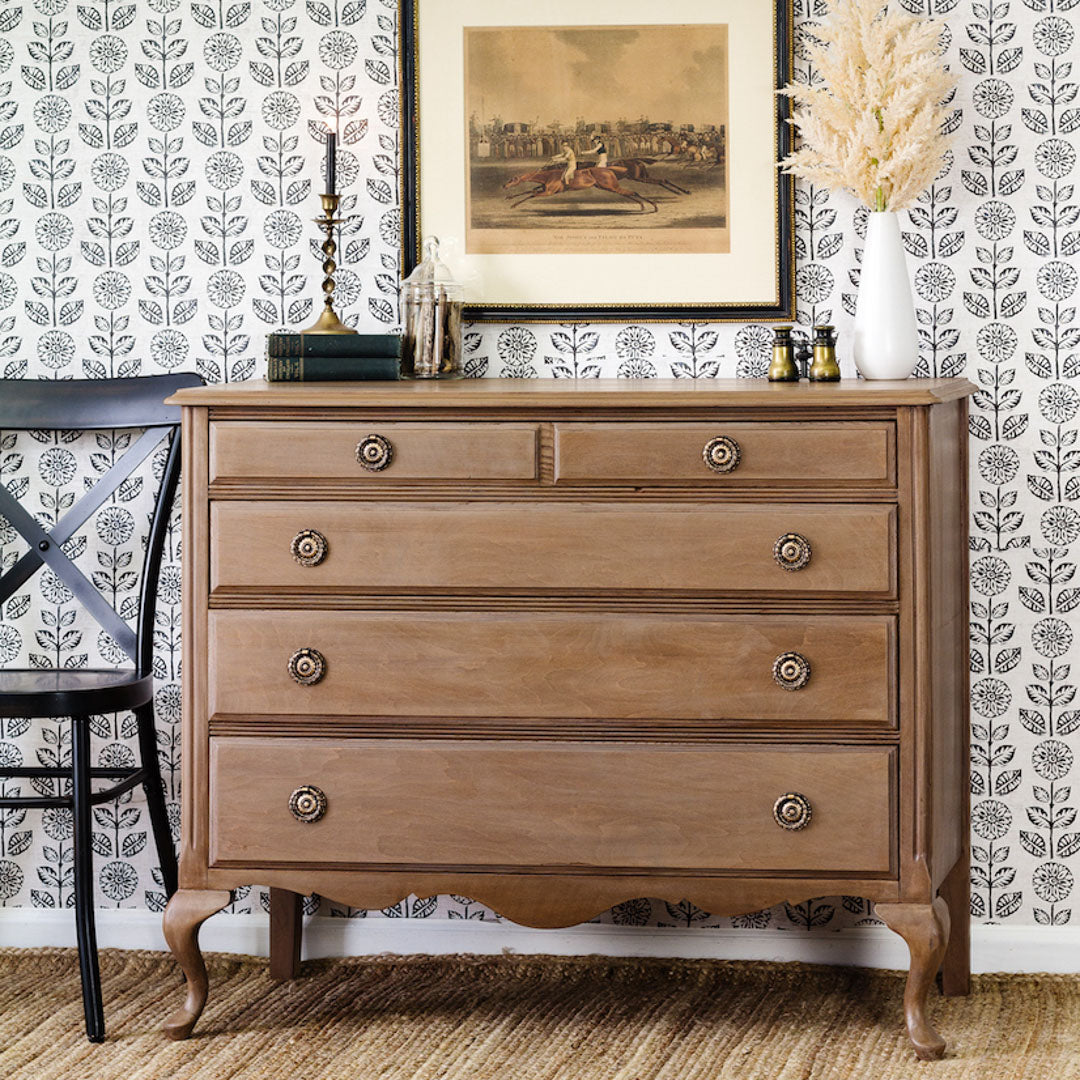
One of the best things about a paint wash is how much it focuses on the wood in a neutral, modern way. It took our project piece from orange and outdated to cozy, weathered and modern.
To finish, personalise your project further by changing the fittings on your project. Browse our curated Brass Collection of handles and knobs to enhance your piece further.
We hope you enjoyed this paint wash tutorial and learned about the lengthy shelf life of Fusion! We can’t wait to see the paint washes you create!
